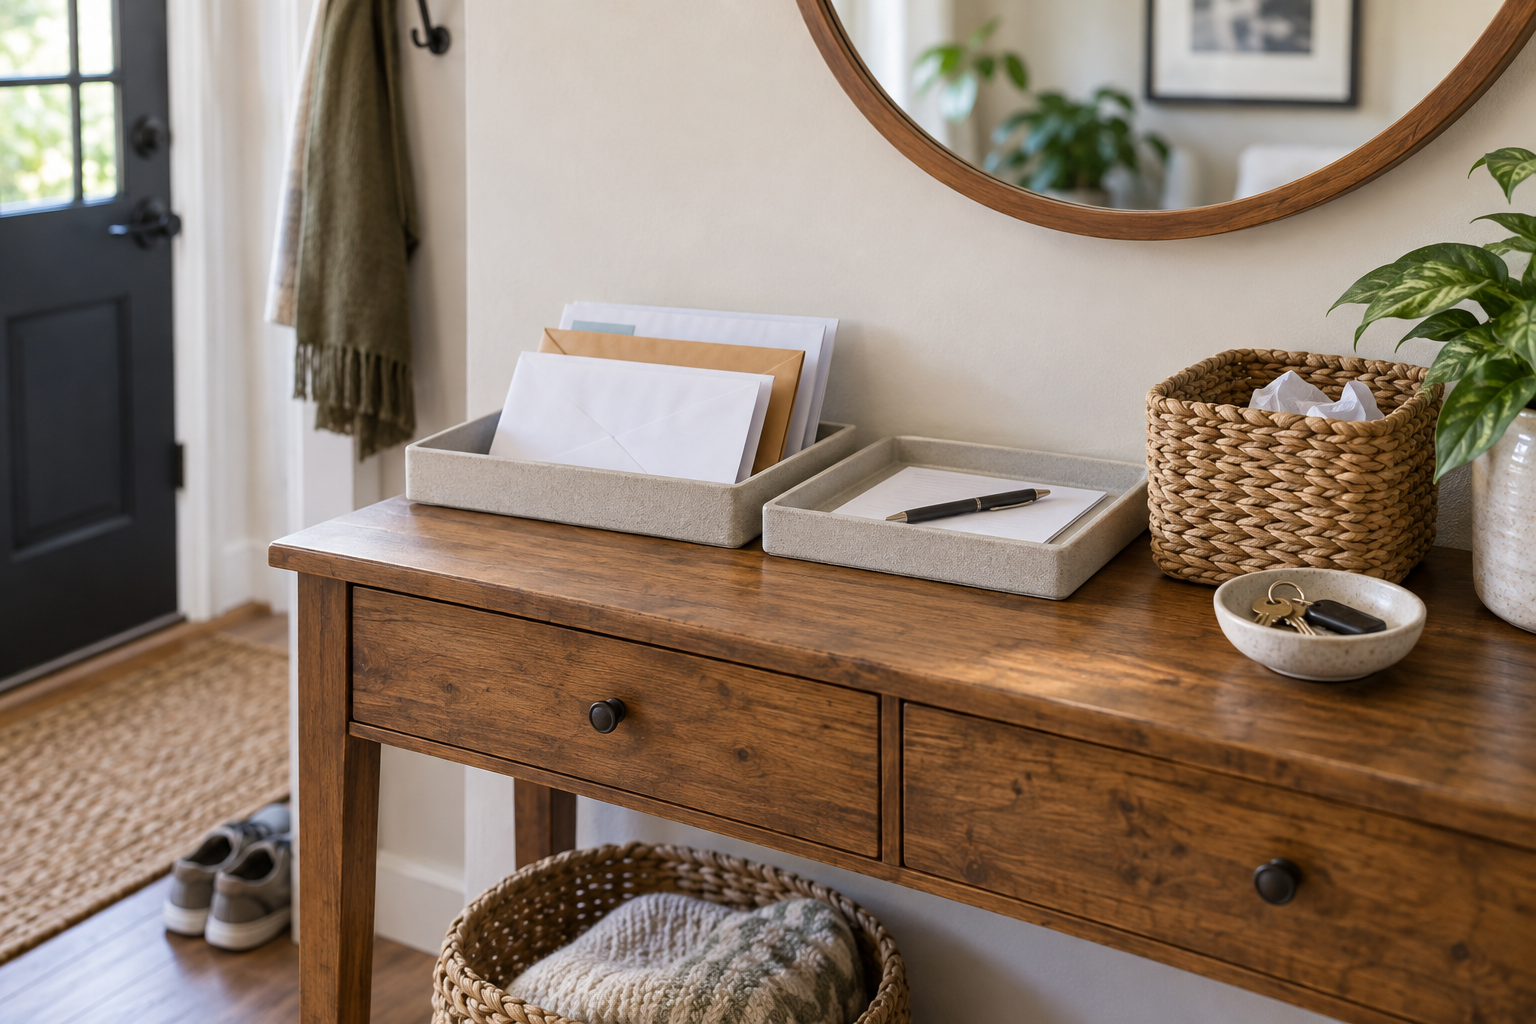
A paper drop zone should reduce decisions, not become a decorative place to stack unopened mail. The difference is simple: a useful drop zone has a limited capacity, a small number of destinations, and a scheduled exit for every paper that enters it.
This system fits on a narrow console, one shelf, or a small section of a kitchen counter. You do not need a command-center wall or matching office supplies.
Choose the location by behavior
Place the drop zone where paper naturally enters the home—not where you wish everyone would carry it. For many homes, that is beside the main door, at the end of a kitchen counter, or near the place where bags are emptied.
If shoes, keys, and backpacks compete for the same surface, first define the larger entryway organization system. Paper needs a small protected area inside that flow.
Use three destinations, not twelve categories
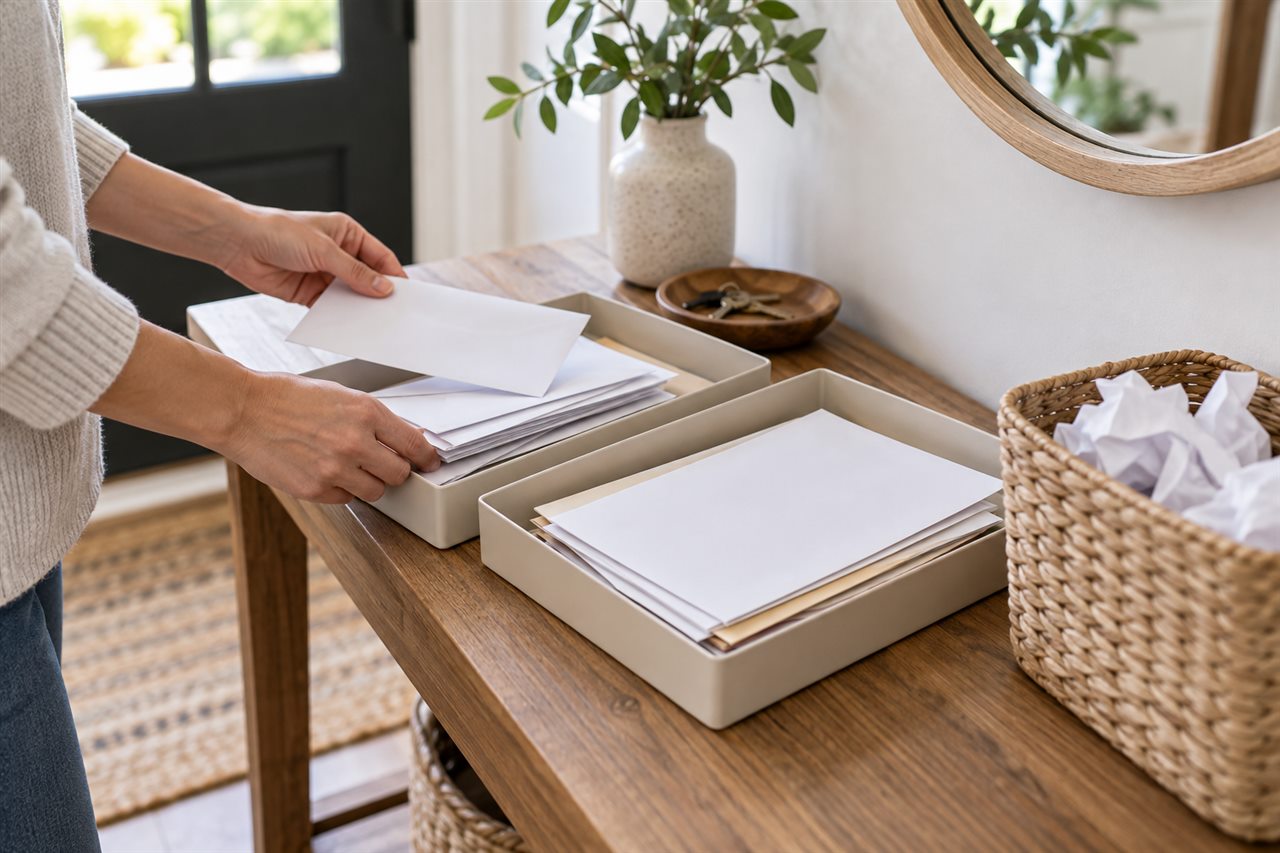
Most incoming paper needs one of three actions:
- Act: sign, pay, reply, schedule, or return.
- File: keep because you have a clear future reason to retrieve it.
- Recycle or shred: remove it from the active system.
You can create the zones with two trays and a recycling container. “Act” and “File” each get one tray. Recycling sits beside them, not inside the pile. Sensitive paper should go directly to a secure shredding container if that is appropriate for your household.
Set a physical capacity limit
Choose shallow trays that hold a manageable amount. A deep basket hides the warning that the system has stopped moving. When a tray is full, the rule is to process it before adding another container.
Capacity is more effective than a vague promise to “deal with papers later.” The edge of the tray makes the limit visible.
Process each piece once
During the weekly reset, pick up the top paper and ask one question: “What is the next physical action?” “School” is a category; “sign and return Thursday” is an action. Write the deadline on the paper or calendar, complete two-minute actions immediately, and place longer tasks in the Act tray.
| Paper | Next action | Destination |
|---|---|---|
| Permission form | Sign, add event to calendar, return to bag | Act, then out |
| Bill | Pay or schedule payment | Act, then file only if needed |
| Receipt | Match to return, warranty, budget, or discard | File or remove |
| Flyer | Add useful date or information to calendar | Recycle |
| Manual | Check whether a reliable digital copy exists | File or recycle |
Give “Act” a deadline, not permanent residency
Choose two short processing times each week—perhaps Wednesday evening and Sunday afternoon. Ten minutes is enough if the tray stays small. Put those times on the household calendar until the habit becomes automatic.
When a task cannot be completed yet, write the date and next step on a sticky note. This prevents you from rereading the same document and rediscovering the same decision.
Keep only papers with a retrieval reason
Before filing, finish this sentence: “I will need this when…” If there is no clear answer, the paper may not deserve storage. Examples of real retrieval reasons include completing a return, documenting a warranty, preparing taxes, or following a record-retention requirement that applies to you.
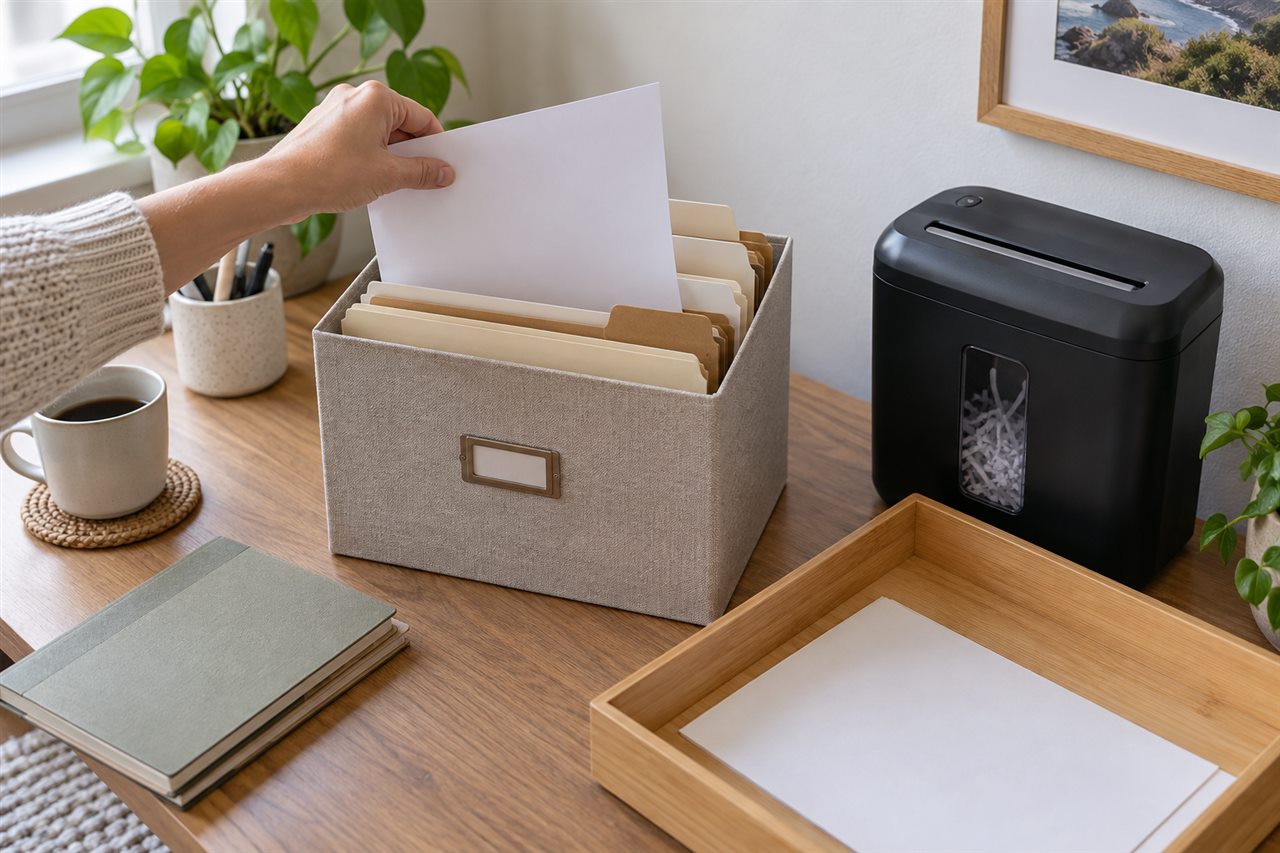
Use broad file labels you already understand. A small household file box with a few durable categories is easier to maintain than a detailed system with dozens of nearly empty folders.
Prevent paper from multiplying upstream
- Switch recurring statements to digital delivery when it is secure and useful for you.
- Photograph short-lived information only if you have a reliable place to find the image later.
- Place junk mail directly in recycling instead of letting it enter the tray.
- Ask each family member to empty bags into the same intake point.
- Remove one expired notice whenever you add a new one to a display board.
This is the same principle behind the one-in, one-out rule: a boundary only works when there is a dependable exit.
Reset the zone in five minutes
- Recycle obvious waste.
- Return completed forms to the correct bag.
- Move dates and appointments to the calendar.
- Complete the smallest action.
- File the papers that have a clear retrieval reason.
- Wipe the surface and stop.
If clutter has spread beyond paper, use the 20-minute evening reset for the surrounding room. Keep the paper routine narrow enough that it can survive a busy week.
Frequently asked questions
Do I need a tray for every family member?
Usually not. Organizing by required action creates fewer decisions than organizing by owner. Add a person-specific tray only when that person regularly processes their own paper.
What about children’s artwork?
Give it a separate, size-limited holding folder. Choose favorites at a regular interval, photograph selected pieces if desired, and let the container define how much can wait for review.
Can the system be completely digital?
Yes, if every household member knows the capture method and you review the digital inbox consistently. A small physical intake tray is still useful for documents that arrive on paper and need action before scanning or disposal.
You Might Also Love

How to Organize a Shared Desk in a Small Home

How to Measure a Closet Before Buying Organizers

Where to Store Towels and Sheets When You Have No Linen Closet
Under-Bed Storage: What Belongs There and What Does Not

Can You Recycle Shoes? A Practical Guide to Repair, Donate, and Drop Off
via Yesil Rehber